

Table of contents
When customizing your Nerves-based Buildroot system there may be a time when changing the Linux kernel source or some packages will be required. To build a reliable and reproducible build, grabbing the source code and consistently applying your changes is a must. Let's see how this can be done.
First of all, you should be reading and leaning on Customizing Your Own Nerves System from the Nerves documentation to get your initial custom system up and running.
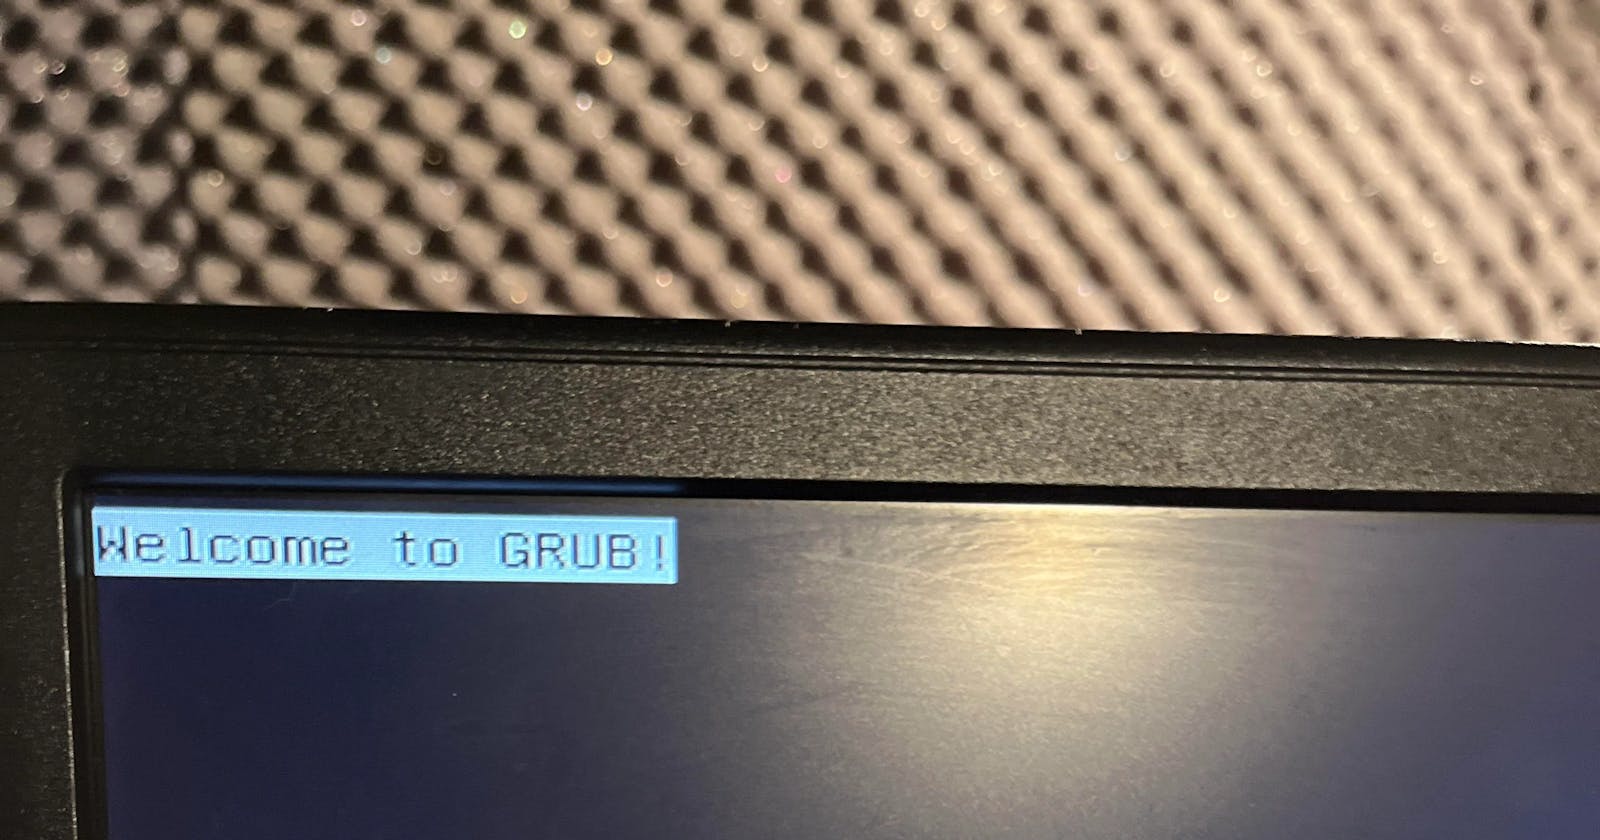
For the purpose of this guide, we'll want to hide the initial GRUB and kernel messages shown during the early boot process.


In practice, this means patching:
our Linux kernel
the grub2 package
Patching the Linux kernel
First of all, we'll customize the kernel patches. Let's add BR2_LINUX_KERNEL_PATCH to our build. Run
mix nerves.system.shell
make menuconfig
You can look for BR2_LINUX_KERNEL_PATCH by typing / and input the right keywords.

We can see its location is inside Kernel --> Linux Kernel --> Custom kernel patches
Let's modify it to the following value $(NERVES_DEFCONFIG_DIR)/patches/linux-custom


Exit Buildroot and save. Once back to nerves.system.shell save your config:
make savedefconfig
Now from your custom nerves system root directory, create a new directory:
mkdir -p ./patches/linux-custom
Let's now patch our files. If you've already built your project once, you can copy the file(s) from the build directory to your ./patches/linux-custom folder. For instance:
cp .nerves/artifacts/custom_nerves_system/build/linux-custom/arch/x86/boot/compressed/misc.c ./patches/linux-custom/
From there let's edit your copied file(s) using your favorite text editor:
vi ./patches/linux-custom/misc.c
and apply the required changes. For example, let's comment out the debug_putstr and debug_putaddr lines

Once satisfied with your changes, save and close your editor.
Now we'll want to create a patch from the original version and the customized one.
diff -urpN .nerves/artifacts/custom_nerves_system/build/linux-custom/arch/x86/boot/compressed/misc.c ./patches/linux-custom/misc.c > ./patches/linux-custom/0001-remove-printf-misc.patch
The index number at the beginning of the patch's name, allows to indicate in which order you want to apply the patches. We'll now want to edit the content of the patch to make sure the file can be found by Buildroot during the build.
vi ./patches/linux-custom/0001-remove-printf-misc.patch
Make sure to edit the file name as shown below. The first line (old filename) doesn't matter, it's the new one (in green) that does. Start with the package name and reference your file from there.

We can now rebuild our kernel.
mix nerves.system.shell
make linux-dirclean
make linux-rebuild
To make sure that your patches are correctly being used, check out the logs. You should see something like this, early on:
>>> linux custom Patching
for p in /media/qb/Volume/dev/custom_nerves_system/patches/linux-custom ;do if test -d $p ; then PATH=/media/qb/Volume/dev/custom_nerves_system/.nerves/artifacts/....
Applying 0001-remove-printf-misc.patch using patch:
patching file arch/X86/boot/compressed/misc.c
Using /media/qb/Volume/dev/custom_nerves_system/.nerves/artifacts/custom_nerves_system/build/linux-custom/.config as base
#
# merged configuration written to /media/qb/Volume/dev/kiosk_86_64_vbox/.nerves/artifacts/custom_nerves_system/build/linux-custom/.config(needs make)
#
Patching the GRUB package
Patching a package is very similar to patching the kernel. The main change will be to customize the BR2_GLOBAL_PATCH_DIR directories. We'll use the same ./patches directory:


To apply a patch for the grub package, we need to create a directory that has the same name as the package. In our case it's grub2.
mkdir ./patches/grub2
From there we use the same approach as before. We copy the files we want to modify and apply a diff on those files to generate patch files:

To reference the modified file, we need to reference it as below:
<package-name>-<version>/access/to/file

Then it's just a matter of cleaning the package and rebuilding it:
make grub2-dirclean
make grub2-rebuild
Finishing up
Once you are satisfied with your changes and have rebuilt your kernel and/or packages, we simply need to create the artifact:
mix nerves.artifact
Reminder
make clean and make inside mixnerves.system.shell to perform a full build again. This time, patch files will all be applied.Whenever you have kernel changes, you'll want to re-flash your firmware and not just upload it on a running device. From your firmware/project directory (the one referencing your custom Nerves system):
MIX_TARGET=custom_nerves_system MIX_ENV=dev mix deps.get
MIX_TARGET=custom_nerves_system MIX_ENV=dev mix firmware
fwup -a -d _build/custom_nerves_system/nerves/images/my_firmware.img -i _build/custom_nerves_system/nerves/images/my_firmware.fw -t complete
Then use Balena Etcher or dd to burn your img file to your disk.
Happy patching!